
Introduction
DIY can be satisfying, cost-effective, and genuinely fun—until the finished result looks “off.” Contractors don’t judge homeowners for trying; they simply notice patterns because they’re often called in to fix the same issues later.
The frustrating part is that many DIY projects are functional. The shelf holds. The paint covers. The tile stays up. But the room still looks unprofessional—because small visual details don’t line up, transitions feel improvised, and materials don’t look intentional together. Learn more about creating a professional, polished space with expert remodeling services here: Home Remodeling Services in The Woodlands.
Contractors agree that even small mistakes in DIY projects can instantly make a home look unprofessional. From mismatched materials to poor transitions, these errors can affect the overall appeal. Avoid these common pitfalls and create a space that truly reflects your style. Learn more about expert remodeling services here: Home Remodeling Services.

If you’re in The Woodlands and want a second opinion before you start (or before you repaint something twice), connect with trusted remodeling contractors in The Woodlands, TX.
For a broader “avoid mistakes” playbook, you can also read: common remodeling mistakes Woodlands homeowners make.
Why DIY Sometimes Looks “Off” Even When It’s Functional
Contractors evaluate a finished space differently than most homeowners. Homeowners often focus on whether something works. Contractors focus on whether it reads as straight, consistent, and intentionally finished.
Here’s what makes a space feel “pro” at a glance:
- Consistency: gaps, reveals, and alignments repeat predictably.
- Clean edges: corners, trim lines, and transitions look planned—not patched.
- Material logic: finishes relate to each other (tone, sheen, scale).
- Light behavior: the room looks good in daylight and at night.
The five mistakes below break one or more of these principles—so even small DIY projects can look noticeably amateur if these basics are missed.
1. Skipping Prep Work (The Finish Always Gives It Away)
Paint and finishes are “truth-tellers.” They don’t hide problems—they highlight them. Skipped prep leads to roller lines, flashing, rough patches, peeling edges, and uneven sheen that looks fine in photos but obvious in person. Proper prep also controls dust and impacts indoor air quality during remodeling. For detailed guidance on how remodeling dust can affect your home’s indoor air quality, visit the EPA’s official resources: EPA – Remodeling and Indoor Air Quality.
Prep also affects dust control and indoor air quality during remodeling. The EPA outlines practical guidance on how remodeling dust and debris can impact indoor air quality and comfort: EPA – Remodeling and Indoor Air Quality.
- DIY giveaways: painting over grease/dust, not sanding patches flush, skipping primer, rushed cut-ins.
- How it shows up: “shadow stripes” at night, blotchy sheen, visible patch borders, peeling near edges.
1.1 Why Prep Fails (And Why It Shows at Night)
Most DIY prep fails because people underestimate how lighting reveals texture. At night, lamps and downlights create angled shadows that emphasize even tiny surface defects. A patch that looked invisible at noon becomes a visible rectangle at 8 PM.
Prep usually fails for one of these reasons:
- “It feels smooth enough” (but it isn’t smooth under side lighting).
- Dust left behind (paint bonds to dust, not the wall).
- No primer (repairs soak paint differently, causing sheen differences).
- Rushed edges (cut lines and trim edges are where people look first).
1.2 Contractor Prep Routine: Clean, Patch, Sand, Prime
Copy this contractor routine and your paint instantly looks more professional:
- Protect: cover floors, tape edges, remove plates, mask hardware.
- Clean: wipe dust; degrease kitchens and wipe bath humidity film.
- Patch in layers: thin coats dry cleaner and shrink less.
- Feather sand: widen the sanded area so patch edges disappear.
- Remove dust: vacuum + damp microfiber; don’t paint over powder.
- Prime repairs: spot-prime so the topcoat dries evenly.
Pro tip: paint makes surfaces look flatter than they are—so the “last 10%” of sanding is what separates DIY from professional work.
If you want a “do it once” plan (instead of repainting repeatedly), follow: how to plan a realistic remodeling budget in The Woodlands.
1.3 Common Prep Traps in Kitchens, Baths & High-Traffic Areas
Certain rooms make DIY prep harder because they have more contamination:
- Kitchens: grease film near ranges and splash zones prevents paint adhesion.
- Bathrooms: humidity + residue can cause peeling and mildew bleed-through if not addressed.
- Entryways/hallways: scuffs and oils from hands create adhesion issues near corners.
If your walls have persistent stains or you’re repainting over glossy finishes, prep and primer selection matter even more.
If your DIY work is part of a bigger kitchen refresh, avoid the most common cleanup + finish mistakes here: kitchen cleaning mistakes Woodlands homeowners make (and what to do instead).
1.4 Prep Quick Checks (Before You Paint)
- Hand test: if you feel the edge, you’ll see it later.
- Flashlight test: shine a light across the wall at a low angle to reveal ridges.
- Dry wipe test: wipe with a cloth; if it picks up dust, clean again before painting.
- Spot prime test: prime a repair; if it flashes, you need more feathering/sanding.
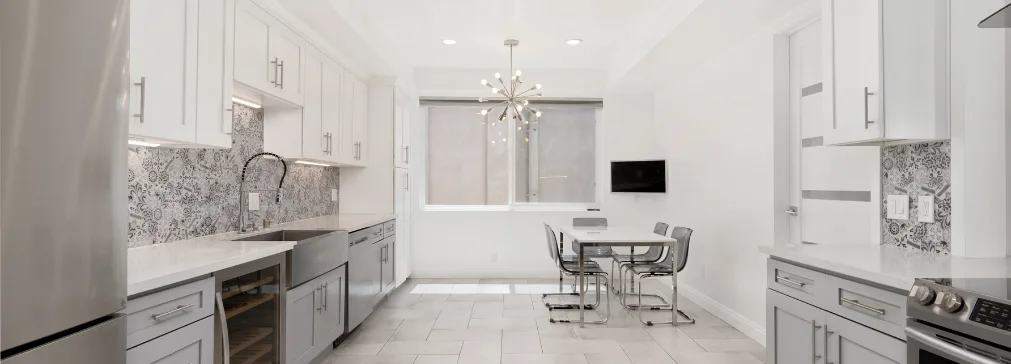
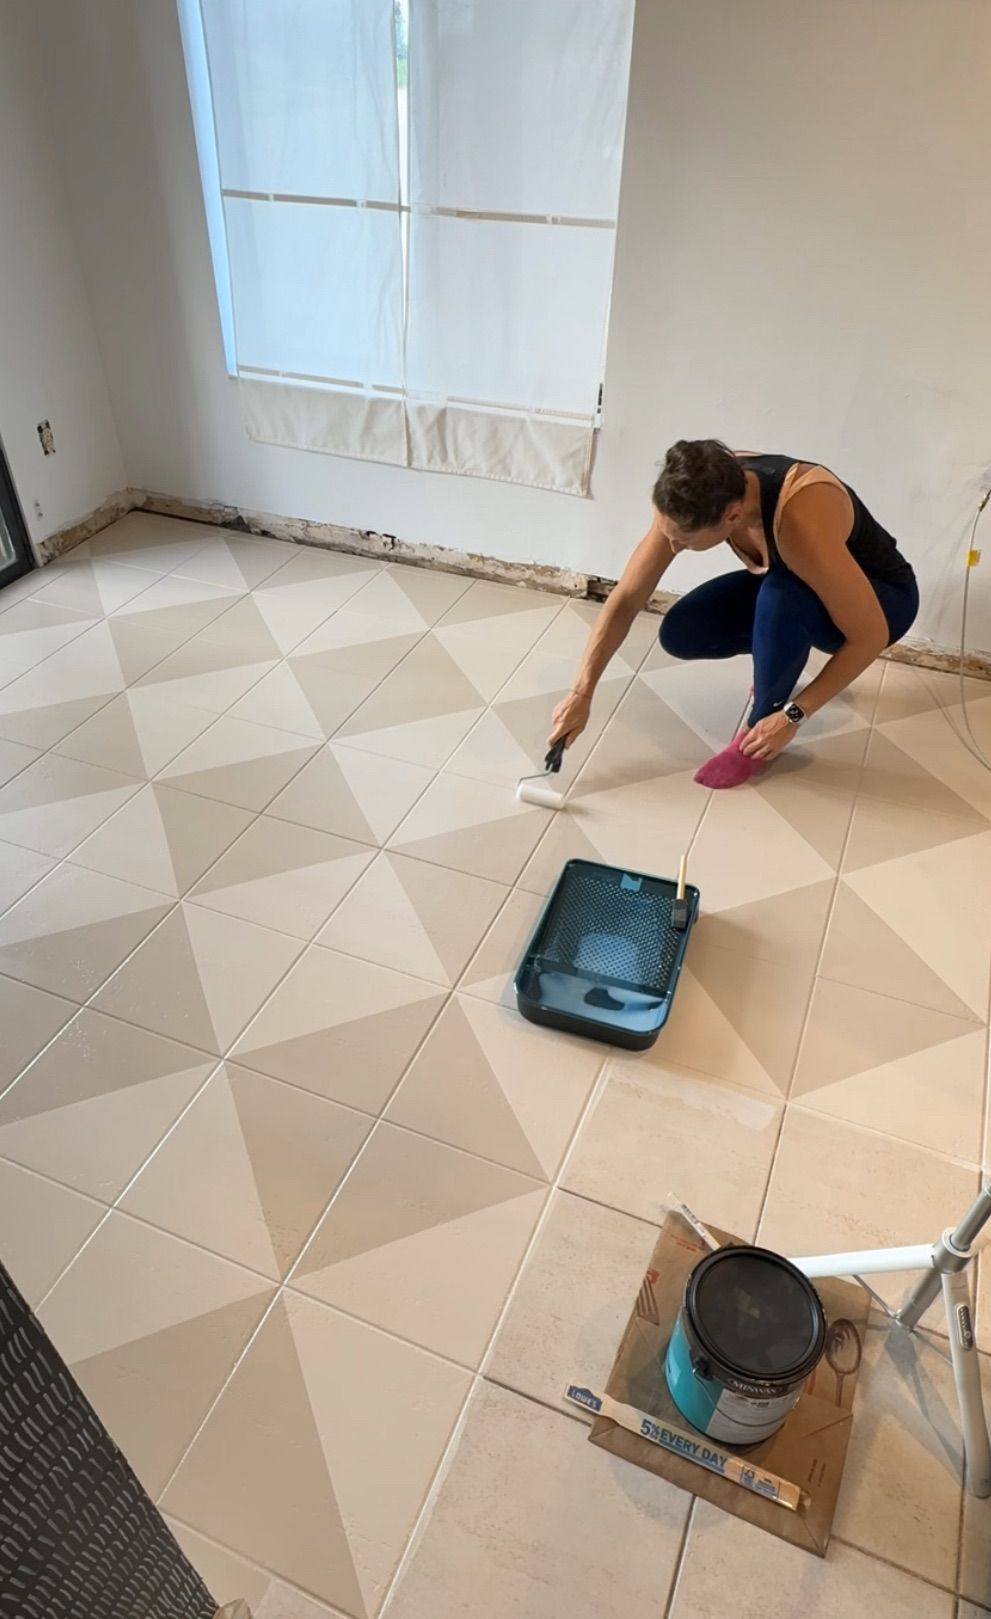
2. Crooked Lines & “Almost Level” Installations
Crooked work is the fastest way to make a DIY project look amateur. Even tiny deviations become obvious over long runs: baseboards, tile lines, shelves, cabinet faces, and backsplash patterns.
Homes are rarely perfectly square. Pros build to reference lines, then “hide” the house’s imperfections with consistent reveals and clean edges.
2.1 Why Homes Aren’t Square (And What Pros Do Instead)
Walls can bow. Corners can be out-of-square. Floors can slope slightly. That’s normal. The difference is pros build to a reference line, not to the imperfect wall.
- Reference first: choose a baseline (laser line, countertop edge, or floor line).
- Correct quietly: shims, scribing, and consistent reveals hide imperfections.
- Prioritize focal alignment: make the “hero” items look centered and intentional.
2.2 Layout & Leveling: Simple Checks That Save a Project
- Laser lines: use them for tile, shelves, cabinets, and hardware rows.
- Dry-fit: stage your pieces first; adjust before drilling or setting.
- Spacers & shims: they create consistent reveals (the thing your eye notices).
- Step back: check from the doorway and main seating position.
If alignment already feels stressful, that’s a sign the project is more layout-driven than you expected.
If you want a contractor checklist before you hire (or DIY), use: how to choose the right remodeling contractor in The Woodlands.
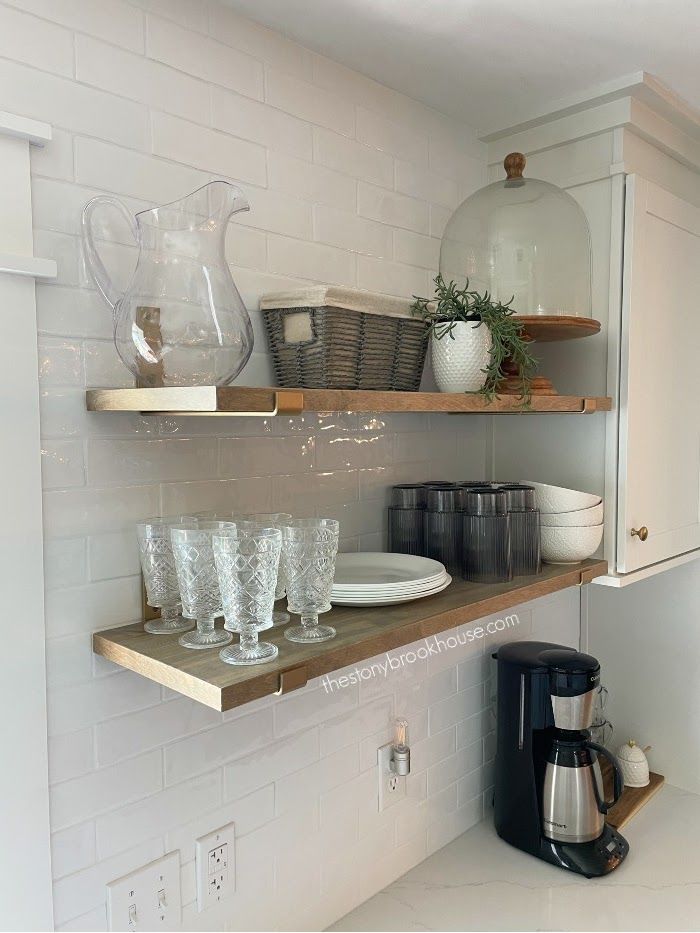
2.3 Trim, Shelves & Hardware: The Alignment “Money Zone”
These are the details people see up close and touch every day:
- Trim: wavy baseboards and inconsistent corners ruin the “built-in” look.
- Shelves: a slight tilt looks worse over time as objects lean.
- Hardware: knobs/pulls installed inconsistently make cabinets look cheap—even if the cabinets are nice.
Contractor-level standard: consistent spacing, consistent reveals, consistent lines. If one run is off, it’s worth redoing before you move on—because the eye will catch it forever.
2.4 Contractor Trick: Build for the Eye, Not the Wall
The wall might not be straight, but the installation should look straight. That means referencing a laser line, not chasing the drywall waviness.
This is why pro tile and trim work “reads” cleaner: the reference is consistent even when the house is not.
3. Messy Caulk & Poor Transitions
A professional remodel looks continuous. DIY often looks like separate pieces forced together. Contractors notice where materials meet: trim-to-wall, countertop-to-backsplash, flooring-to-flooring, built-in-to-ceiling.
Caulk is meant to refine a joint—not hide a gap caused by a bad cut or rushed install.
3.1 Why Joints Become the “DIY Tell”
Joints are where the brain decides whether a room feels high-end or “patched.” If joints look rough, the whole project feels lower quality—even if the main materials are nice.
- Inconsistent gaps create shadows and lines that draw attention.
- Overfilled caulk becomes a visible ridge instead of disappearing.
- Unplanned terminations look like the project stopped abruptly.
3.2 Caulk & Transition Methods That Look High-End
- Use less product: thin beads look cleaner and tool smoother.
- Tool it properly: a smooth bead should be nearly invisible after paint.
- Fix the fit first: big gaps mean the cut/install needs correction.
- Plan transitions early: decide how and where materials end before installing them.
3.3 Clean Terminations: Flooring, Tile Edges, Built-Ins
A termination is where a material ends. Clean terminations are what make a remodel look intentional.
- Tile edges: end with a clean trim profile or a planned stopping line.
- Flooring changes: use logical breaks (doorways, room edges) rather than random mid-room seams.
- Built-ins: finish to the ceiling cleanly or plan a consistent top detail—don’t leave odd gaps.
3.4 The Three Places Transitions Fail Most
- Backsplash ends: tile stops awkwardly without a trim or planned edge.
- Flooring thresholds: reducers/strips look like an afterthought rather than an intentional threshold.
- Baseboard meets casing: mismatched heights or unfinished returns look sloppy up close.
4. Mismatched Materials That Break Visual Flow
Even when workmanship is “okay,” the wrong material mix makes the whole space feel inconsistent. Contractors call it the “patchwork remodel” effect: one upgrade looks disconnected from the next.
Mismatch shows up in sheen, scale, and quality tier—not just color. If one element looks builder-grade beside upgraded finishes, your eye goes straight to the weak link.
If you want durable finishes that feel cohesive in real-life Woodlands conditions (humidity, kids, pets), read: how to use mixed materials to elevate your home.
4.1 What “Mismatch” Really Means (Not Just Color)
- Sheen mismatch: glossy next to matte creates contrast you didn’t intend.
- Profile mismatch: modern flat trim next to ornate trim looks accidental.
- Scale mismatch: tiny baseboards and thin casing can look underbuilt in large rooms.
- Quality mismatch: one budget fixture beside premium finishes reads as a shortcut.
4.2 Contractor Method: Build a Finish Palette
Contractors simplify decision-making by building a finish palette:
- Anchor: choose flooring or cabinets as the main tone.
- Walls/trim: select a consistent paint family (warm or cool).
- Metal: choose one dominant hardware finish and repeat it.
- Accent: pick one supporting contrast, then use it intentionally.
If you repeat the palette, the room looks designed—even if you used cost-effective materials.
4.3 Testing Samples in Real Light (Day vs Night)
- Daylight test: check near windows and open areas.
- Evening test: check under warm bulbs and downlights.
- Angle test: view from the main doorway and where guests sit.
- Neighbor test: place materials next to each other to see undertones.
4.4 Budget-Friendly Upgrades That Still Look Premium
You don’t need the most expensive materials to get a premium look. You need consistency and clean execution. These choices often deliver “high-end” results without luxury pricing:
- Simple trim profiles: clean lines look more modern and hide fewer imperfections.
- Repeat hardware: one metal finish across the room reads intentional.
- Lighting consistency: matching color temperature (warm vs cool) improves perceived quality.
- One focal upgrade: upgrade the most visible area (entry, kitchen, fireplace wall) and keep supporting items consistent.
For long-term durability (especially for active households), this also helps: sustainable interiors playbook (materials + IAQ).
5. Ignoring Permits, Safety & Dust Control
Some DIY mistakes don’t show up in photos, but they still matter. Contractors get concerned when homeowners skip permitting or overlook safety, because issues can surface later as failed inspections, resale complications, leaks, shocks, or worse.
For local clarity (not guesswork), use: permits and remodeling in Montgomery County before you open walls or move plumbing/electrical.
5.1 Dust Control & Indoor Air Quality During Remodels
Dust control is one of the biggest “invisible” differences between pro remodeling and DIY. Fine particles spread through HVAC and settle on furniture, vents, and ledges—then keep resurfacing for weeks.
- Containment: plastic barriers with taped seams.
- HVAC protection: protect returns, change filters, and clean after dusty work.
- Vacuum strategy: vacuum (not sweep) and wipe surfaces with a damp microfiber.
EPA guidance for remodeling dust and indoor air: EPA – Remodeling and Indoor Air Quality.
5.2 Permits: When DIY Becomes a Resale Problem
Even if the project works, unpermitted work can create buyer hesitation and inspection complications. It can also force you to open walls later to prove what was done behind the finish.
High-risk categories typically include electrical, plumbing relocation, structural changes, and certain HVAC modifications. When in doubt, ask early—because “fixing later” often means undoing finished work.
5.3 When to Call a Pro (and Why It Saves Money)
A simple rule: if it involves electrical, plumbing, structural changes, or permit risk, it’s usually worth hiring a professional for that portion—then DIY the cosmetic finishing if you enjoy it.
If you want clarity on scope and budget, start with: request a remodeling estimate in The Woodlands.
The Hidden Cost of Rework (Why “Fixing Later” Gets Expensive)
DIY becomes expensive when mistakes force you to undo finished work. Contractors often get called after money has already been spent on materials—then the “fix” requires removing and replacing what was just installed.
- Paint rework: sanding + patching + priming + repainting (often more time than the first attempt).
- Tile rework: removing tile can damage drywall/backer board, requiring rebuild before re-tiling.
- Trim rework: bad cuts can waste long runs of material, especially in open layouts.
- Permit rework: opening walls later is one of the most expensive “surprises.”
Contractors don’t charge more to be difficult—they charge more because fixing a finished mistake is harder than doing it right the first time.
If you want to understand typical costs before you start, read: the cost of remodeling in The Woodlands.
Contractor Finish Checklist: The 15-Minute “Pro Pass”
Before you call a project “done,” do this fast professional check:
- Doorway view: stand in the doorway—do long lines read straight?
- Night test: turn on lamps/downlights—do patch ridges show?
- Edge scan: check cut lines, trim edges, corners, and outlets.
- Joint scan: look for bumpy caulk, uneven gaps, and rough transitions.
- Touch test: run your hand along trim—are joints smooth?
- Hardware check: do knobs/pulls line up consistently?
- Clean check: wipe surfaces—did dust settle into corners and ledges?
- Consistency check: do finishes feel repeated and intentional?
If you want a cohesive plan across rooms (not just one project), explore our interior remodeling services in The Woodlands.
Final Thought
DIY doesn’t fail because homeowners don’t care—it fails when planning, precision, and finishing are underestimated. Contractors agree on one simple truth: the “tell” isn’t the brand of tools you used, it’s the consistency of the details. Straight lines repeat. Gaps are uniform. Transitions look planned. Paint looks smooth under harsh lighting. Materials feel like they belong together. When those fundamentals are right, DIY can look genuinely professional.
A contractor mindset is different: define the goal, plan the layout, protect the space, prep thoroughly, install to reference lines, and then slow down at the joints—because joints are where the room is either elevated or downgraded. If you build to a reference line instead of chasing uneven walls, your work reads straighter. If you control transitions instead of improvising them, the room looks intentional. If you repeat finish decisions—sheen, metal, trim profile—the space looks designed rather than pieced together.
If these DIY mistakes are hurting your home’s finish quality, schedule a consultation with Select Remodeling & Construction in The Woodlands .
Choosing the right contractor matters. Reach out to Remodeling contractors The Woodlands & nearby areas like Spring, Conroe, Tomball, and Magnolia.